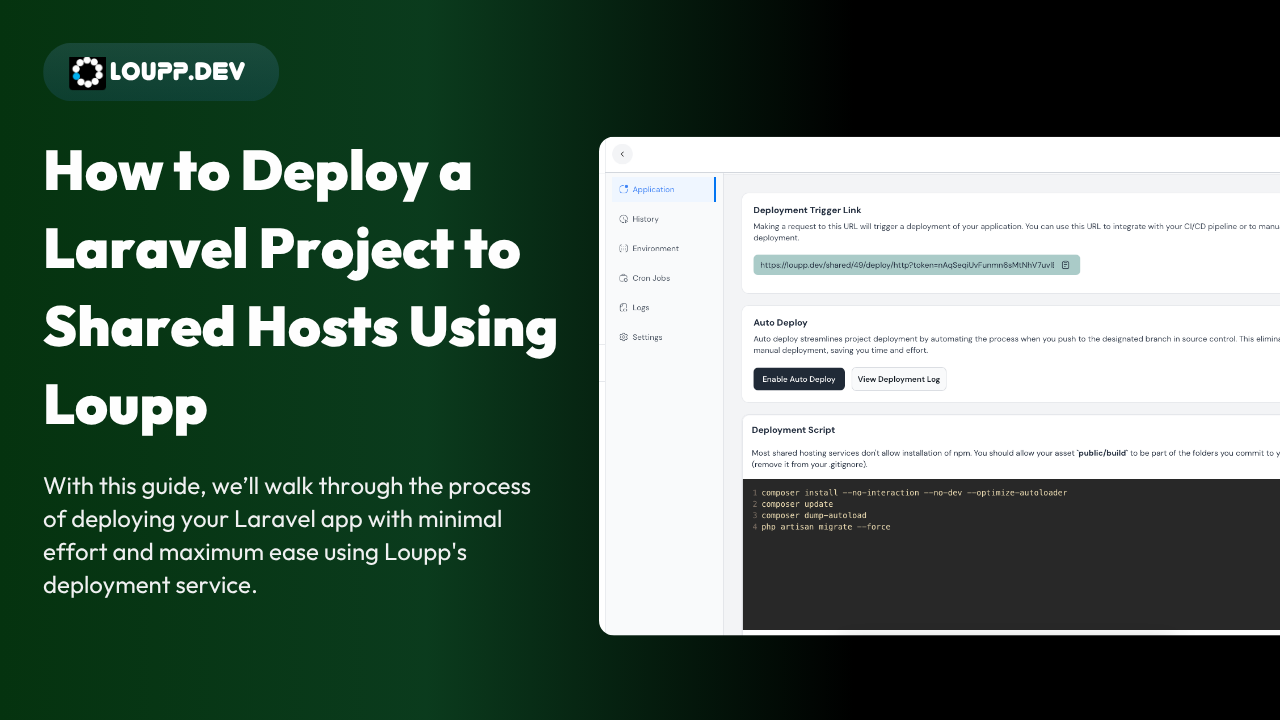
Deploying your Laravel application to a shared host has never been easier, thanks to Loupp.dev. With this guide, we’ll walk through the process of deploying your Laravel app with minimal effort and maximum ease using Loupp's deployment service.
Preparations
Before getting started,
First - Ensure you have a Loupp account and that your source control provider (such as GitHub or GitLab) is linked.
Second - Ensure your hosting provider has Git, PHP, and Composer are installed (PHP and Composer are typically pre-installed on most shared hosts).
Also, confirm that your shared hosting provider supports SSH and offers shell access. You'll need the server details for the deployment process. If you're unsure how to retrieve these, check this guide: How to retrieve your server shell access details.
Steps to Deploy
Visit the Shared Hosts Tab on Loupp
Log into your Loupp account and navigate to the "Shared Hosts" section. Here, you'll have the option to create a new server instance for your project.
Enter Server Details and Proceed
Provide the necessary server details
Name - Label for the sharedserver
Server Username - Your server username
Server IP & Port
Files Directory - The path to the directory where your files from git should be stored `By default, it is your repository name.`
Public Directory - The path to the directory that would be displayed to the web `By default, it is public_html`
Once done, continue with the setup.
Grant Loupp Access to Your Server
Loupp will request permission to access your server. Follow the prompts to grant Loupp the necessary SSH access. You can refer to this page for more guidance.
Select Your Source Control, Repository, and Branch
Choose your source control provider and select the repository and branch you want to deploy. Loupp will clone this branch onto the server.
Edit Your .env File
Loupp will display an ‘edit .env’ button, allowing you to make any necessary edits to your .env file. Save the changes once you're satisfied.
And that’s it!
Your Laravel site is now live on your shared hosting server. Loupp simplifies the entire process, allowing you to focus on your project without the hassle of manual deployment.